The following instructions will take you step by step through the Red Hat wizard-driven installation process and the required DigiToll CySight-specific settings.
Requirements
Red Hat Enterprise 5 Licensed Software
Installation
To install the Red Hat Operating System:
Load Red Hat CD into drive and reboot server.
The following dialog is displayed:
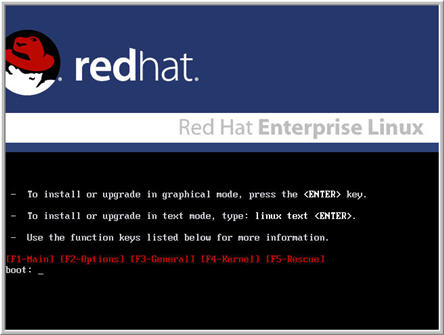
Press [ENTER].
The following dialog is displayed:

Select desired Language (e.g. ‘English’), and click OK.
The following dialog is displayed:
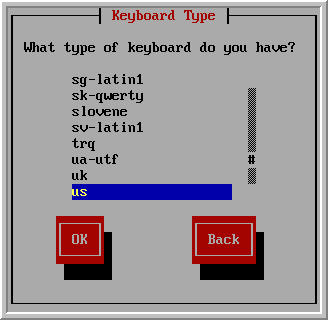
Select desired Keyboard Type (e.g. ‘us’), and click OK.
The following dialog is displayed:

Select Local CDROM, Make sure the Centos installation CD is inserted, and click OK.
The following dialog is displayed:
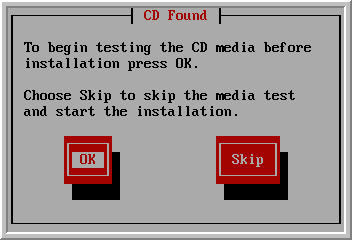
Click Skip. This will start the Centos Installer.
The Red Hat Installer Welcome screen:
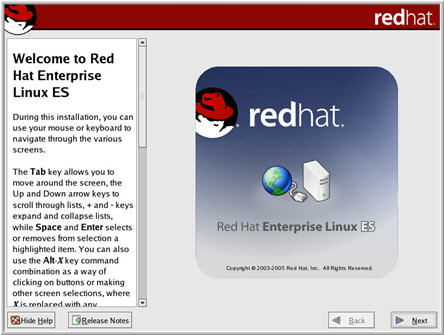
Click Next.
Language Selection:

Select desired language for the installation (e.g. ‘English’), and click Next.
Keyboard Configuration:
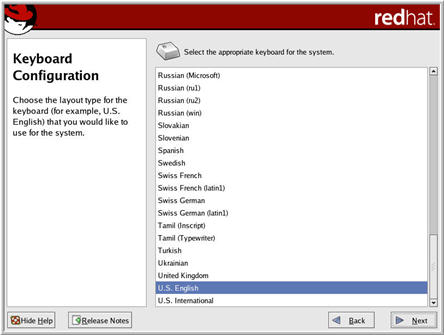
Select Custom and click Next.
Disk Partition Setup:
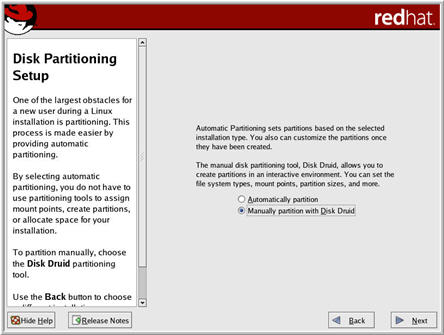
Select Manually partition with Disk Druid, and click Next.
At this stage, you might be prompted with the following message:
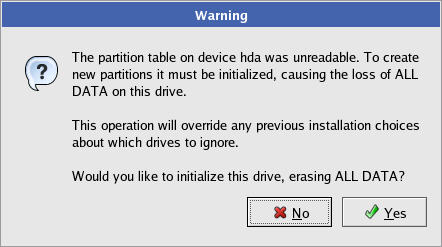
If so, click Yes.
Disk Setup:
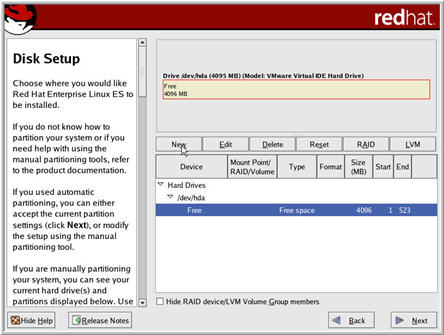
In the table, highlight the Free Space row, and click New.
The following dialog is displayed:
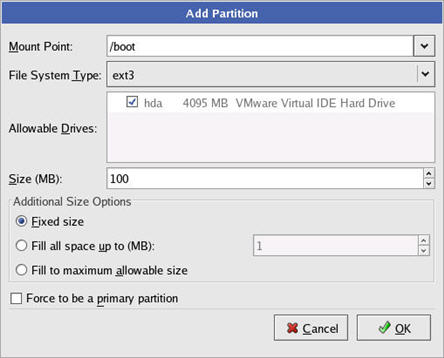
In the Add Partition dialog, set the following:
Mount Point: /boot
File System Type: ext3
Size (MB): 100
Then, Click OK.
Disk Setup: 1 new partition is added:
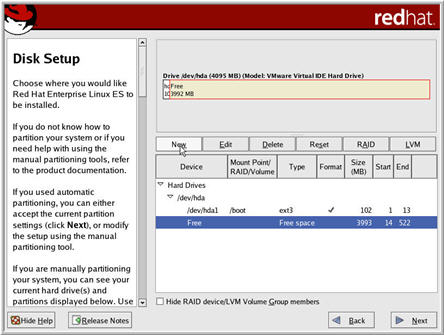
In the table, highlight the Free Space row, and click New.
The following dialog is displayed:
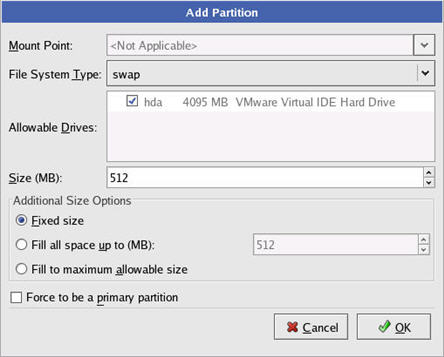
In the Add Partition dialog, set the following:
File System Type: swap
Size (MB): it is recommended to enter two times the physical memory size (e.g. 512)
Then, Click OK.
Disk Setup: 2 new partitions are added:
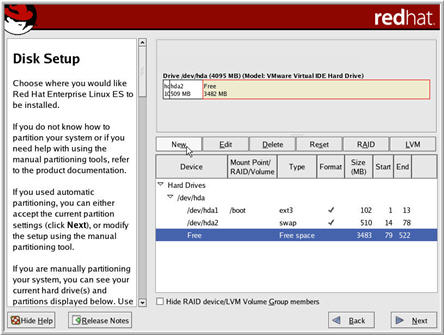
In the table, highlight the Free Space row, and click New.
The following dialog is displayed:

In the Add Partition dialog, set the following:
Mount Point: /
File System Type: ext3
Size (MB): at least 4000
Then, Click OK.
Disk Setup: 3 new partitions are added:
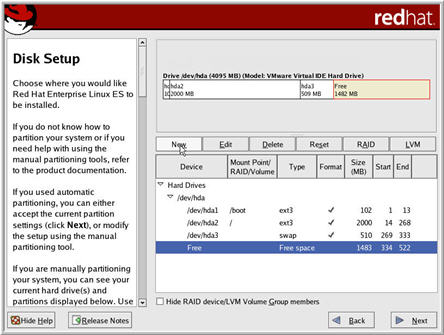
In the table, highlight the Free Space row, and click New.
The following dialog is displayed:
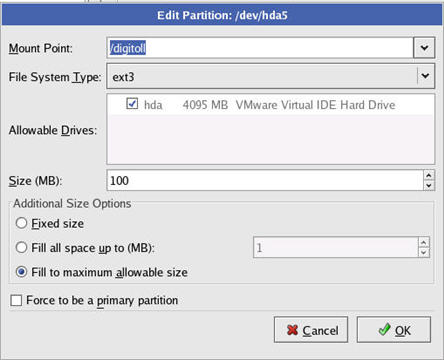
In the Add Partition dialog, set the following:
Mount Point: /digitoll
File System Type: ext3
Additional Size Options: Fill to maximum allowable size
Then, Click OK.
Disk Setup: 4 new partitions are added:

Click Next.
Boot Loader Configuration:
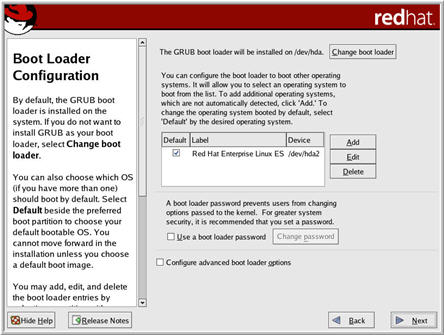
You can leave as is. Click Next.
Network Configuration:
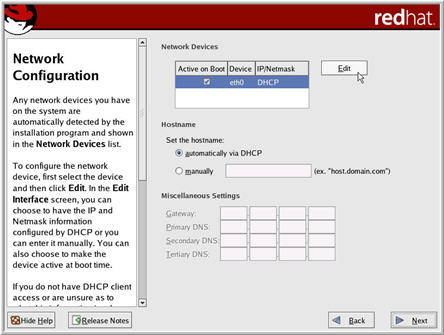
In the Network Devices table, highlight the eth0 Device and click Edit.
The following dialog is displayed:
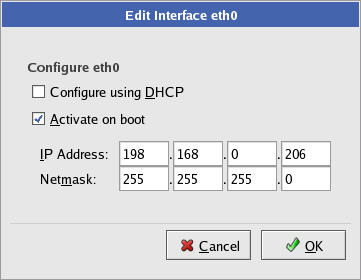
In the Edit Interface dialog, set the following:
Configure using DHCP: unchecked
Activate on boot: checked
IP Address: appropriate numbers (e.g. 192.168.0.206)
Netmask: appropriate numbers (e.g. 255.255.255.0)
Then, Click OK.
Network Configuration: Network Devices are now updated.

You can choose a desired hostname (e.g. ‘digitoll-svr’). Then, click Next.
Firewall Configuration:
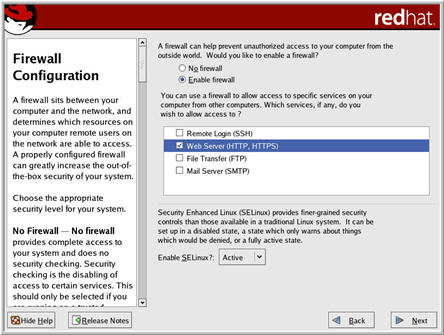
Select Enable firewall, check the Web Server option and click Next.
Additional Language Support:
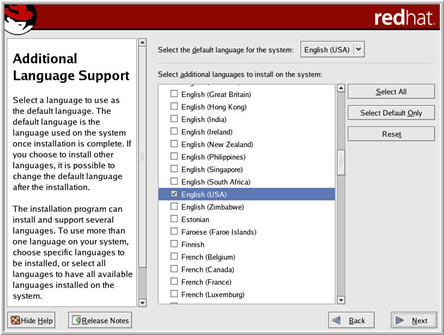
Select a system default language (e.g. ‘English-USA’). Then, click Next.
Time Zone Selection:

Select a time zone from the list (e.g. ‘Australia/Sydney’), and click Next.
Set Root Password:
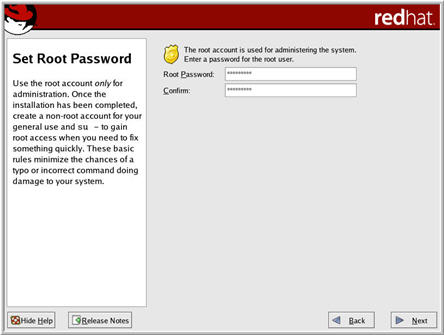
Enter a password, re-confirm and click Next.
Package Installation Defaults:
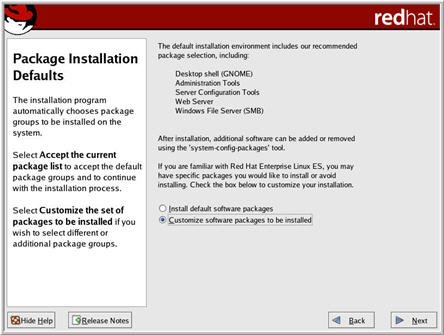
Check Customize software packages to be installed and click Next.
Package Group Selection:
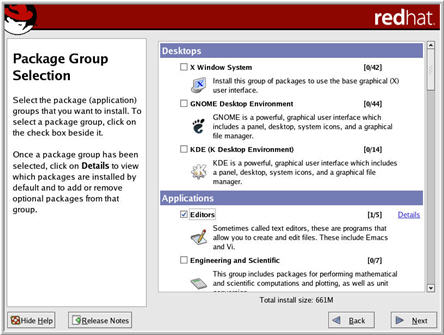
Check the Editors option, uncheck all the rest and click Next.
About to Install:
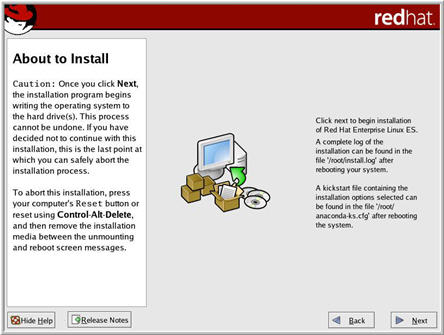
Click Next. This will begin the installation, which may take a few minutes.
Installation Complete:
Click Reboot. This will reboot the Linux Server, so that the new configurations will take effect.